Understanding Lighting Ratio. (Key light , fill light and back light)
Working with studio lighting can be nerve wrecking but the basics are simple. Especially if you’re a beginner and you are suddenly faced with massive state of the art strobe lighting systems such as Profoto, Broncolor , Bowens, or even with multiple speedlight setups. Remember the basic types of lighting? Rembrant lighting, Split lighting and Parammount lighting. Lets go beyond that and delve deeper to understanding how you can light subjects even better.
First thing you need to know: Aperture controls the exposure of the strobes and shutter speed controls the ambient lighting. So when measuring light from your strobes, think in terms of F stops and aperture settings. Like, “I want this portrait shot to be at f8”. Then you start setting up from there.
Understanding Key Light
The key light is what you should work your measurement off, if you want your shot to be f8, you adjust your lighting to fall the way you want it and make sure it measures at f8.
Understanding Fill Light
So now you’ve set up your Key light. With a Key light, you’re bound to cast shadows and dark areas to make an image extremely hard, dramatic and contrasty. More often than not , you’d need a second light or a fill light to fill in the shadows and lighten up these areas. Now a fill does not mean it has to b a strobe per say it can be a simple reflector board which reflects the main light and acts as a fill.
The fill light is usually set at a lower power. if you’re main light is set at f8 power, you’re fill light can be or usually is at f4-5.6 , a stop lower. This gives you a nice range of tones. You can have more than one fill light if needed
Understanding Back light
Back lighting is an added light aside from your main and fill lights. Usually found in high key images. The background lighting as the name implies it, lights up the background.
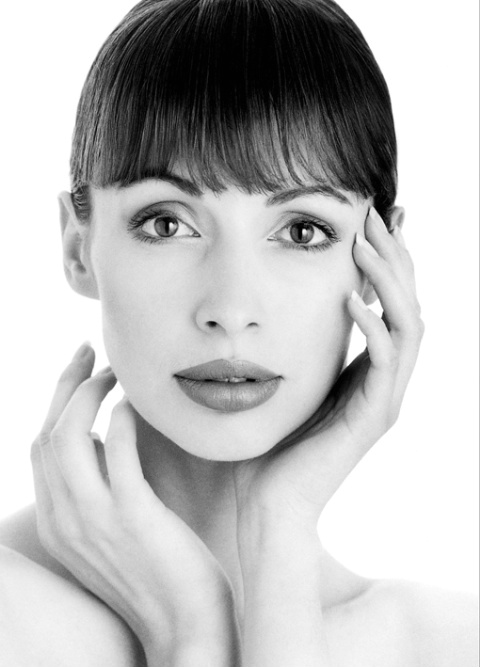

The above example uses all 3 types of lighting
1- The Key light placed above the model’s face most likely a large beauty dish or octagonal softbox
2- A fill light place below the model’s face to fill in shadows
3- A back light/s placed to shine on the seamless white background.
